So, as requested, I am posting this "how to" for the STD I designed.

First, gather your supplies...

white card stock paper, paper cutter, pencil, black fine point art pen or sharpie (mine is an 03 Prismacolor), markers (again Prismacolor), ruler, craft knife, clear tape, twine, needle with large eye (I used an upholstery needle)
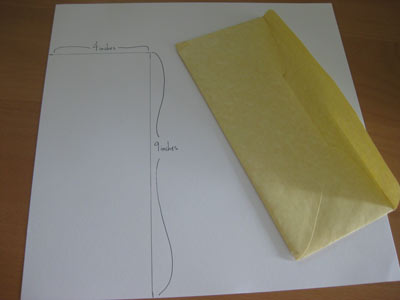
Measure out the card stock at 4"x9".
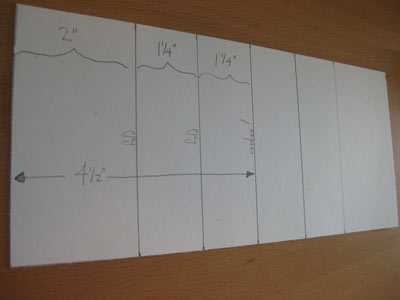
Here, I have marked the 4"x9" piece with where your center and fold lines will be.
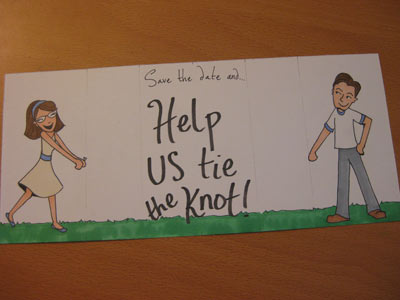
I then wrote out the message in the center block and drew us in the outer blocks. It is helpful to draw an even line out for the grass, that way it matches up when you fold it later. After this step, I am sending it off to the printer to be printed up on heavy card stock!
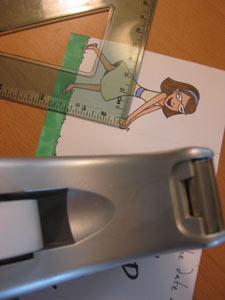
Once they come back from the printer, it's time for assembling! Measure to find the center of the bride and groom's hands and place tape (for extra stability) on the back side of the card.
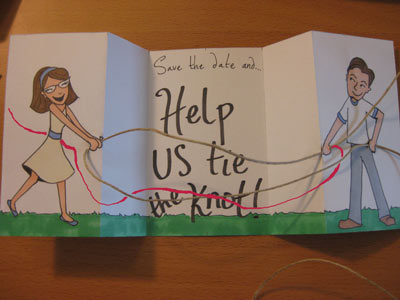
Next, I fold the bride and groom so they meet on the center line. I used my fold line template from earlier and made pencil marks on the back of the card for assistance. A bone folder is an excellent tool to have for this step. I then cut 1/4" slits with the craft knife by their hands and her dress (which you can see in the picture) for lacing. Using the upholstery needle, lace the card with twine or ribbon as shown.

I then made small tags to go on either end of the twine. The small holes are made with the needle. Thread the twine through the holes and double knot.

Here's the finished product! It is surprisingly sturdy, as long as you don't tie and untie it 50 times. It also stands by itself once the knot is tied...which I think is super cool!


0 comments:
Post a Comment